
BATHROOM REMODELING
A Brighter, Better Layout
PROJECT OVERVIEW
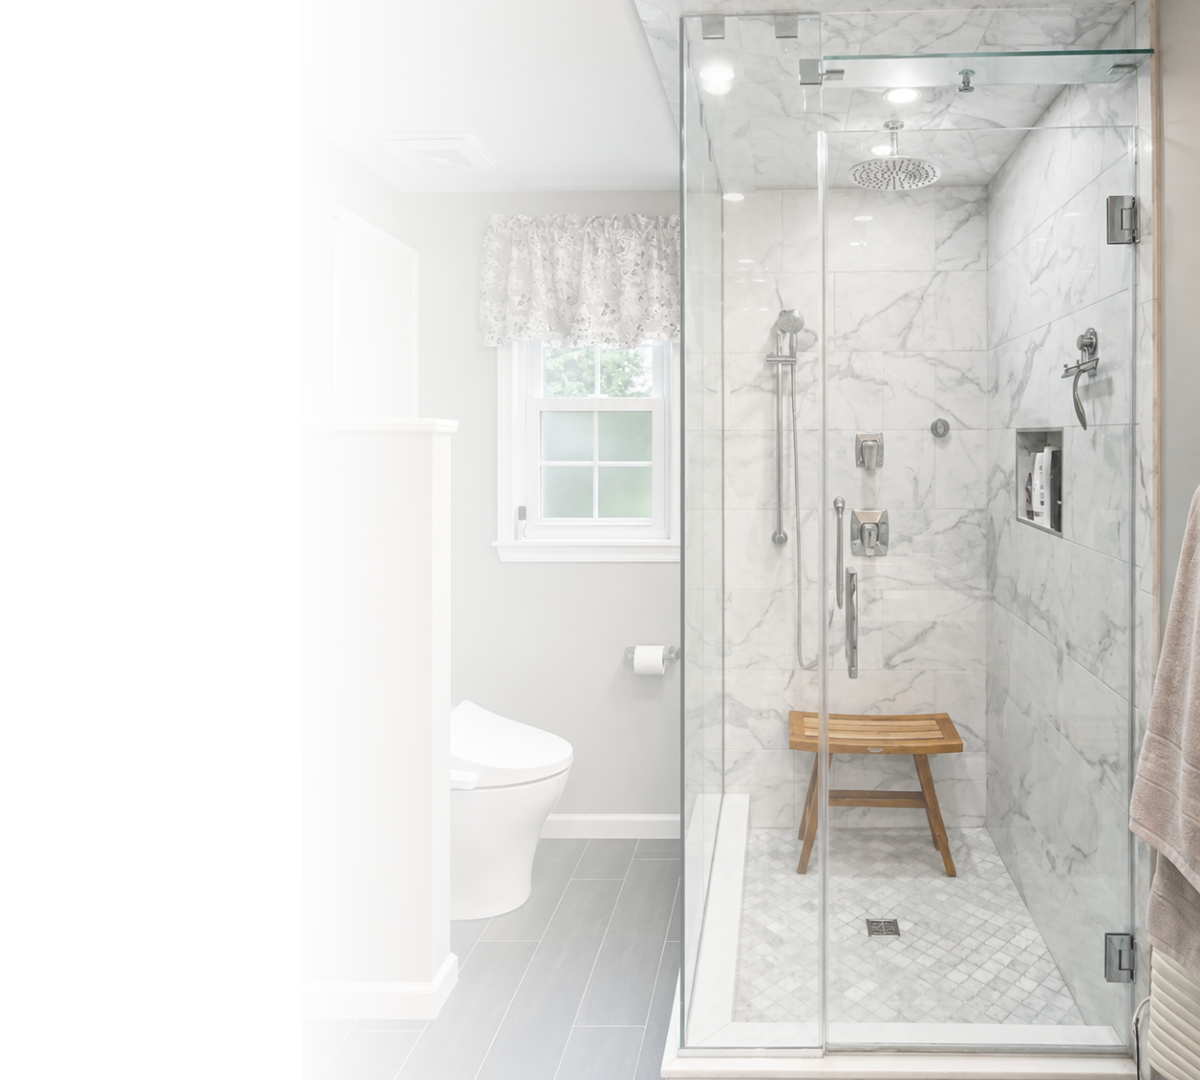
A decades-old bathroom was completely reworked to create a more comfortable layout, a larger custom shower, and better use of the available space.
HORSHAM, PA
A Layout That No Longer Worked
THE PROJECT
The existing layout left very little flexibility, especially with the shower beside the entrance and the bathroom’s single window occupying the corner needed for the new shower. To make the redesigned layout work, JWD relocated the window to the toilet-side corner, preserving natural light while freeing up the opposite corner for the larger walk-in shower.
Comfort Built Into the Remodel
PROJECT DETAILS
Rain + Handheld Shower
A ceiling mounted rain shower head is paired with a separate handheld on an adjustable slide bar.
Frameless Glass
A full frameless glass enclosure keeps the oversized shower visually open while containing the wet area.
A heated towel rack adds a practical everyday upgrade outside the shower.
Heated Towel Rack
Comfort-Height Toilet
A new comfort-height toilet includes an integrated bidet seat for added convenience.
THE BUILD
TILE INSTALLATION IN PROGRESS
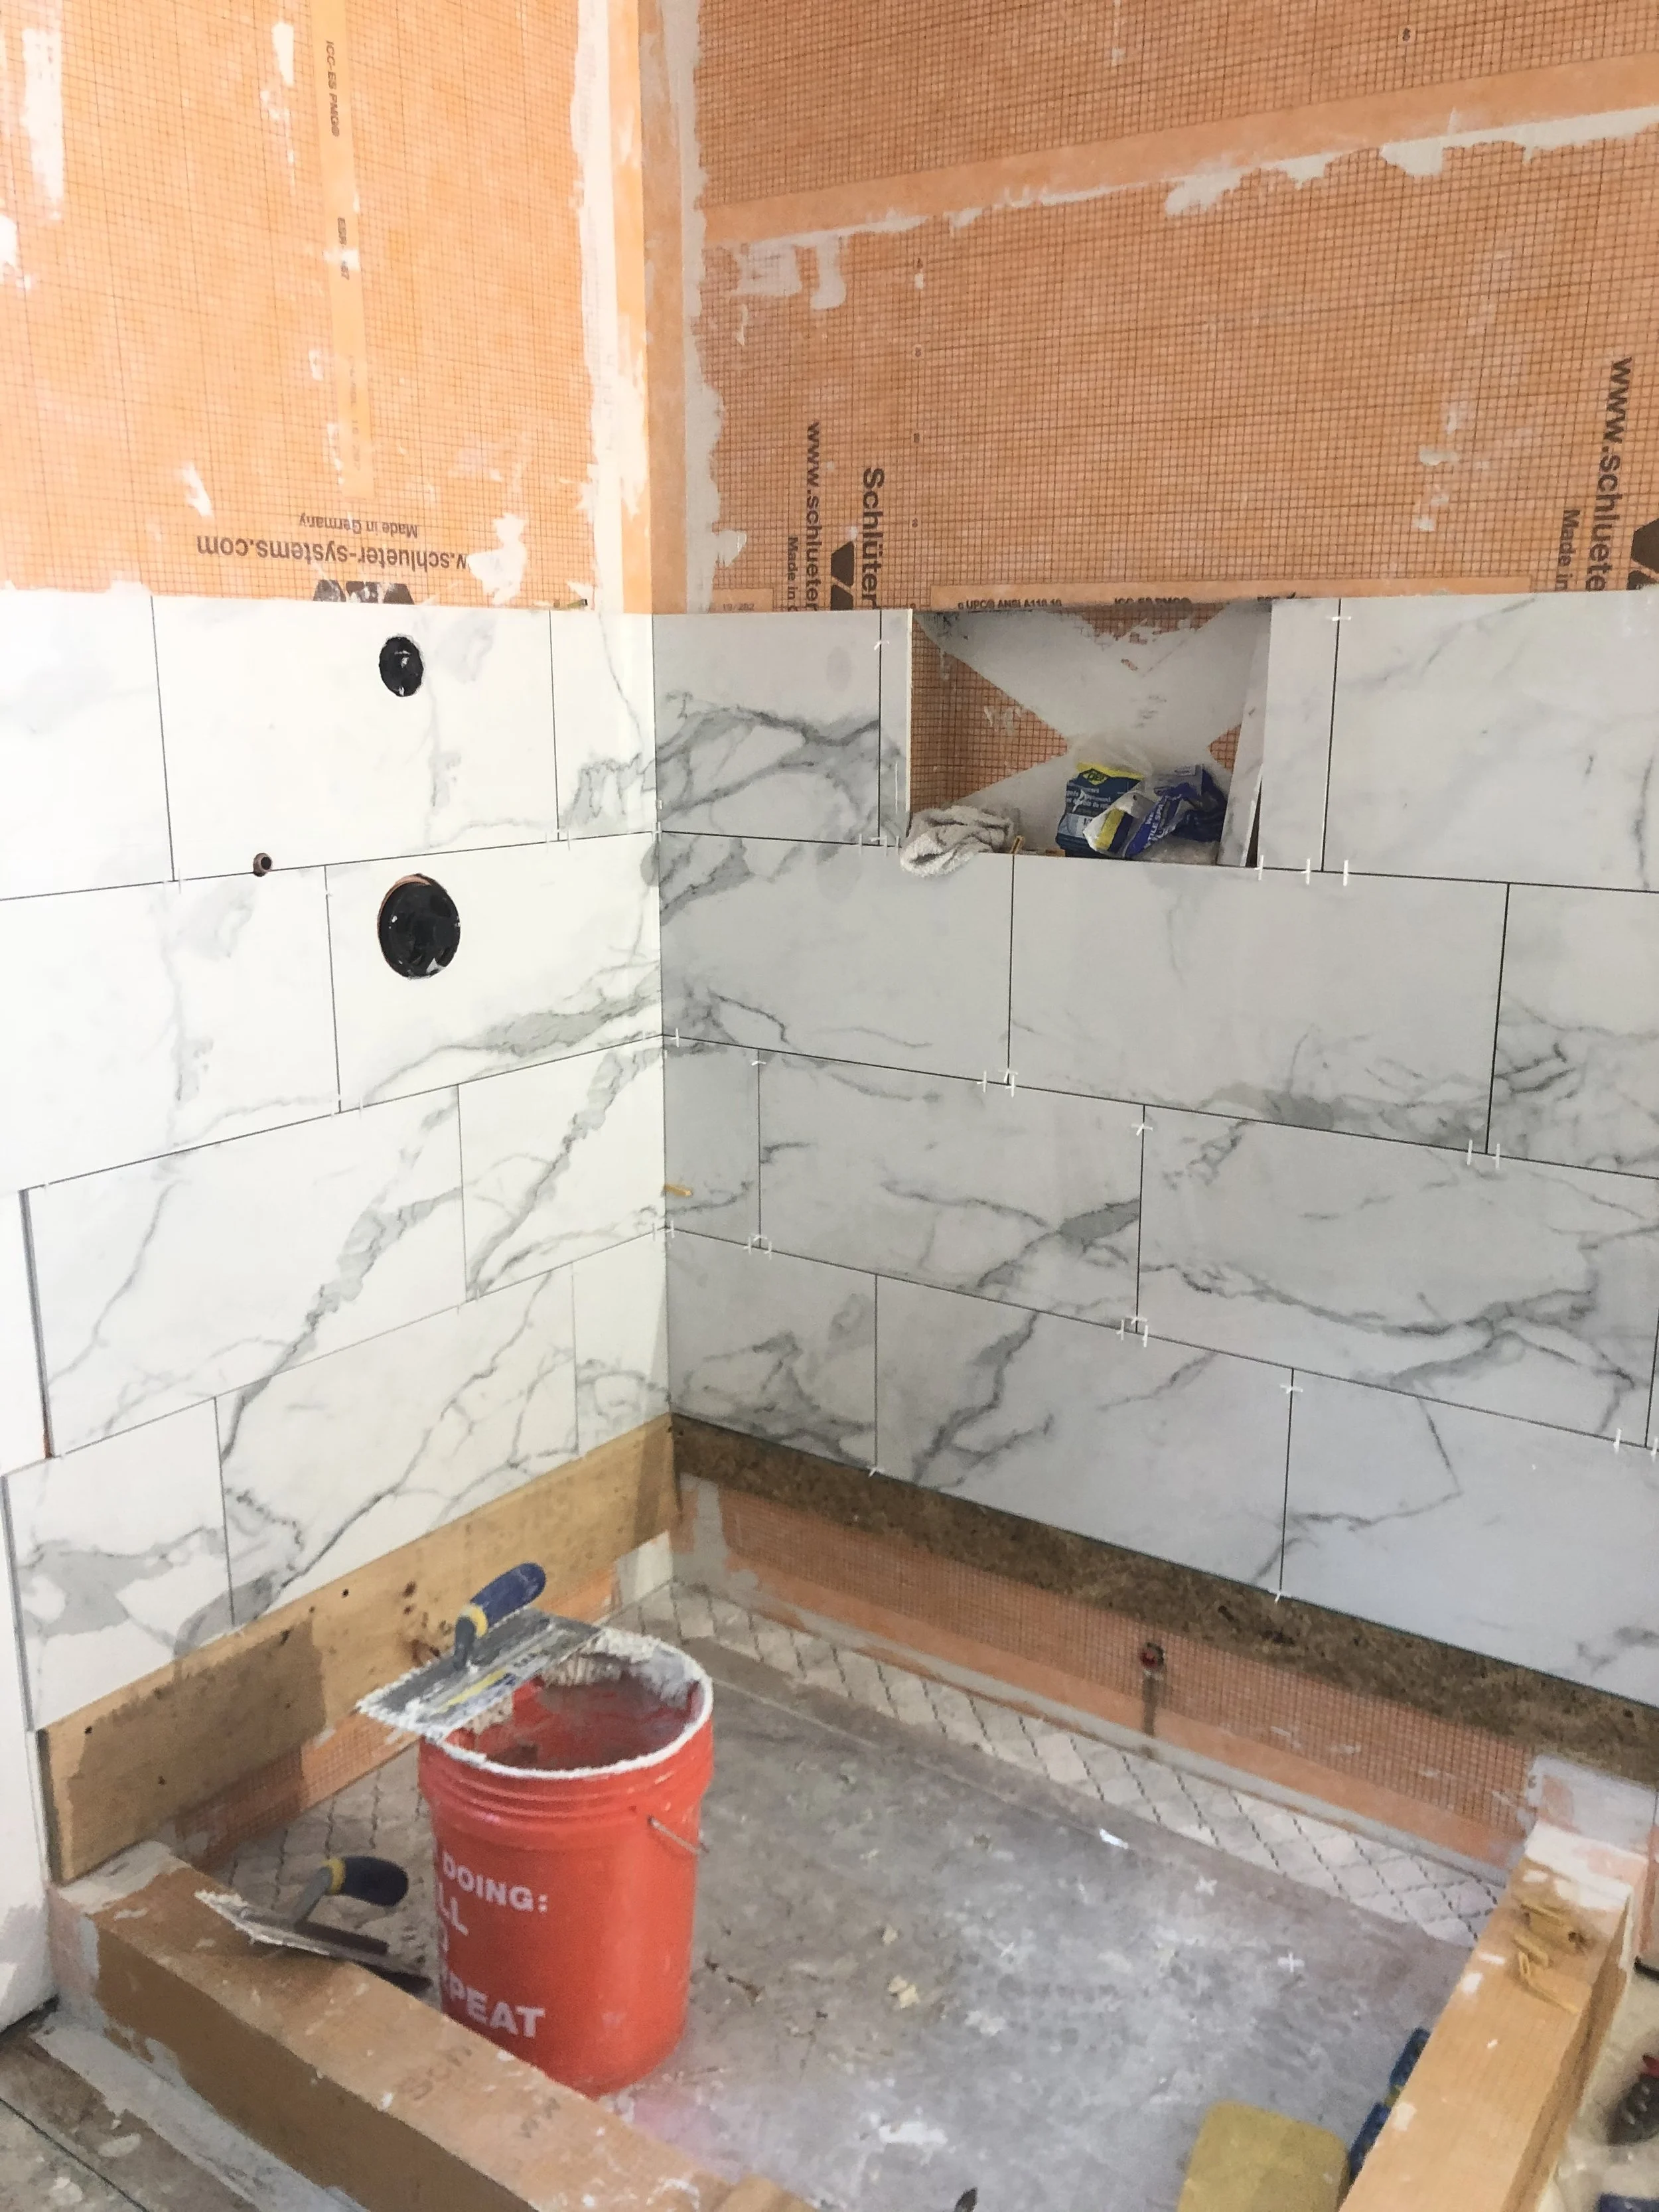
Large format marble-look porcelain tile was installed across shower walls and ceiling, with mosaic tile on the floor.
Large-format marble-look tile was carried across the shower walls and ceiling, with mosaic tile used on the floor and inside the niche.

RECESSED SHOWER LIGHTING
Dedicated recessed lighting was installed inside the enclosure before the tiled ceiling was completed.
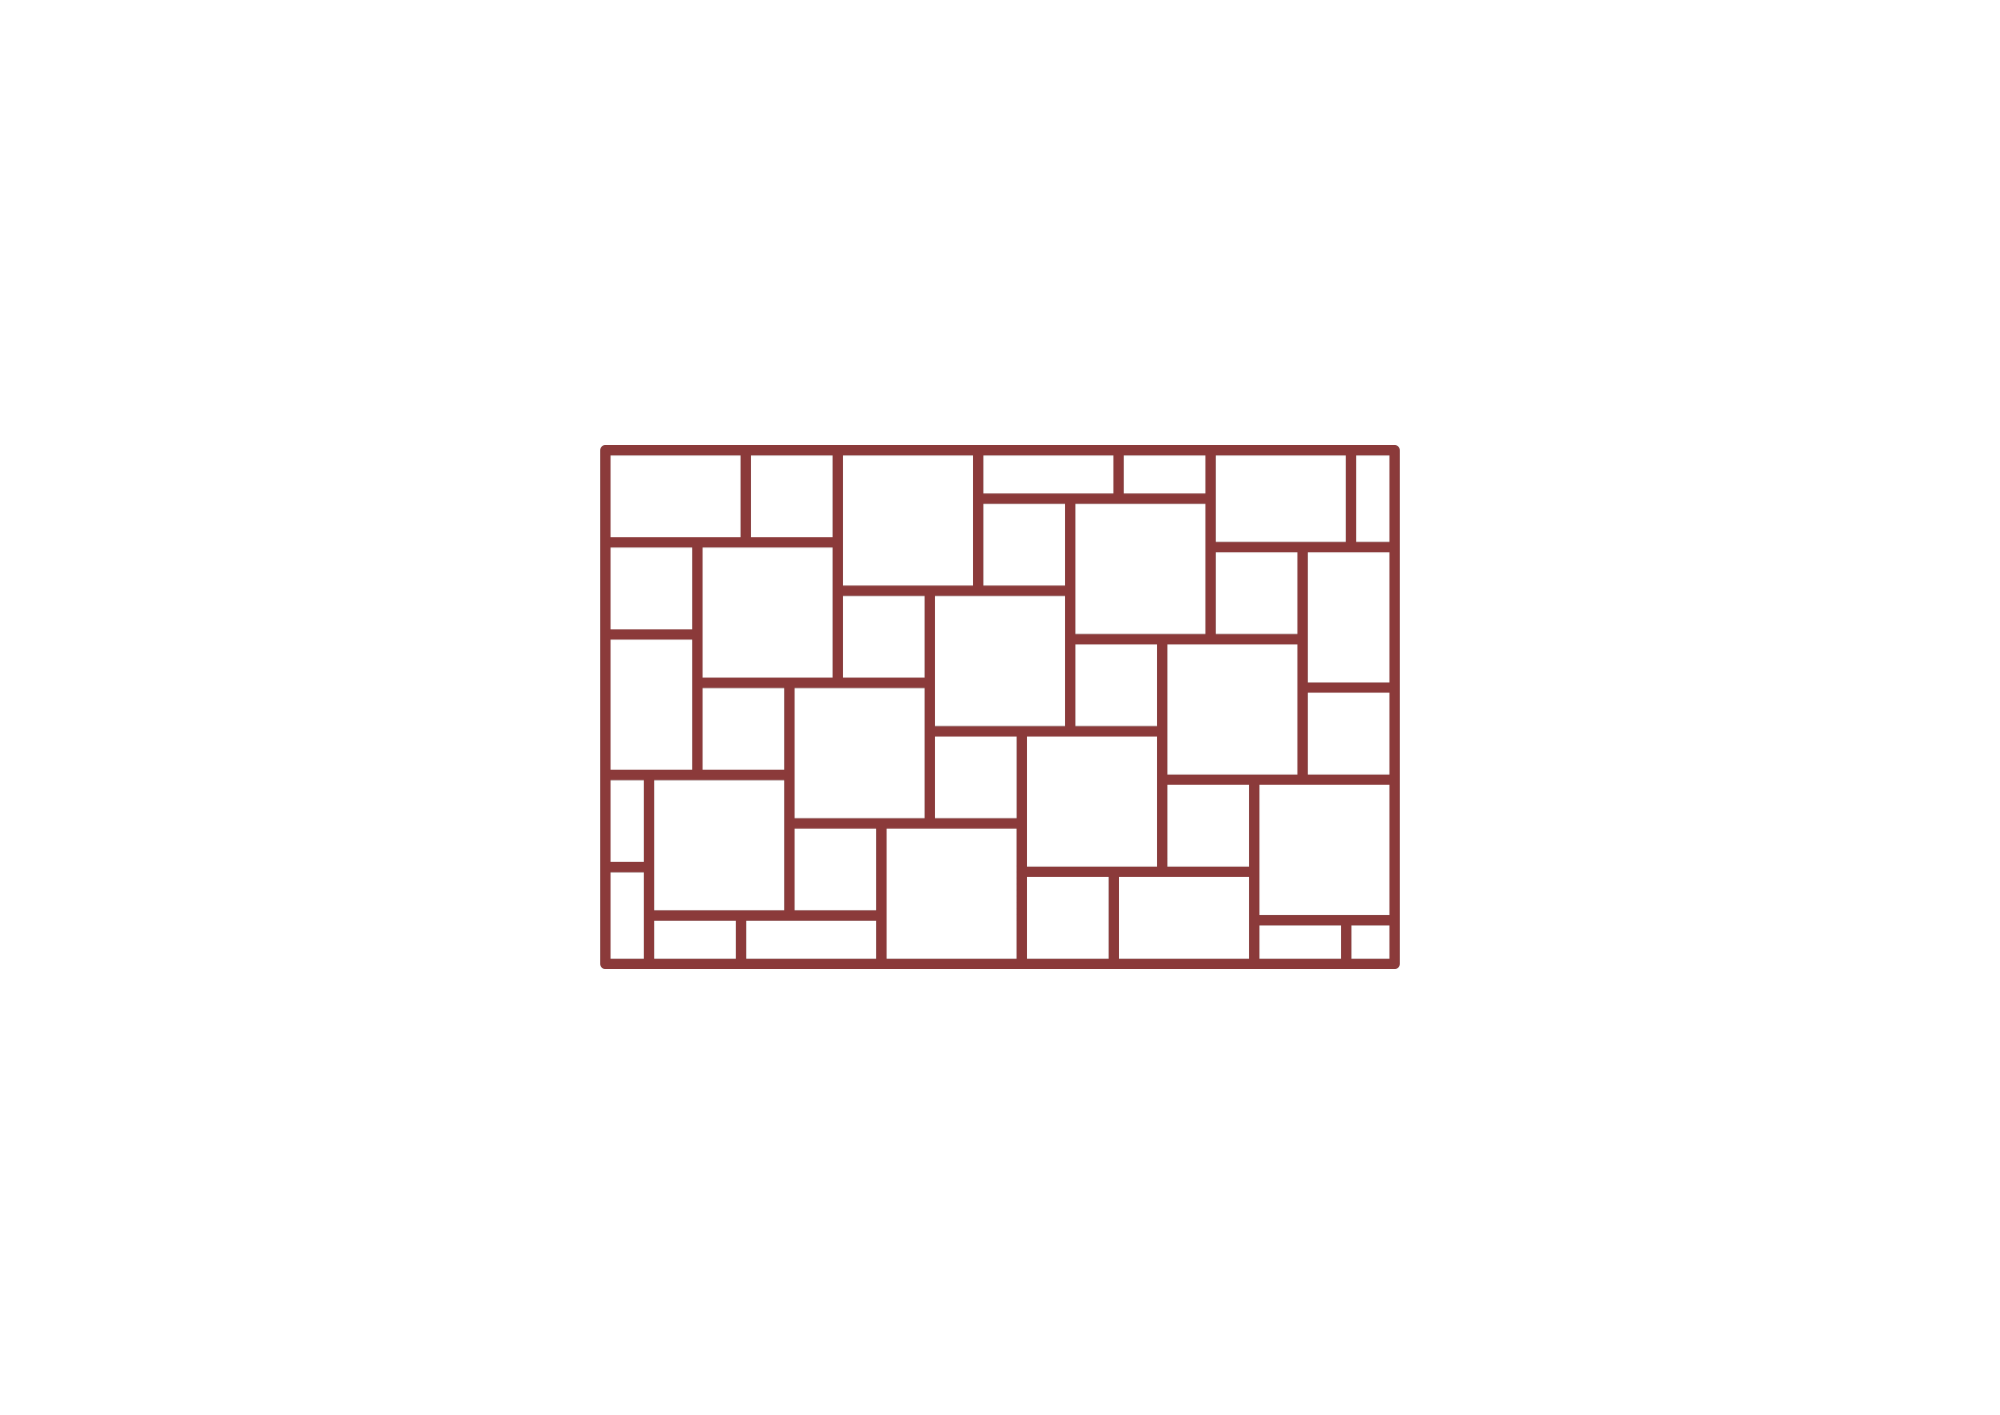
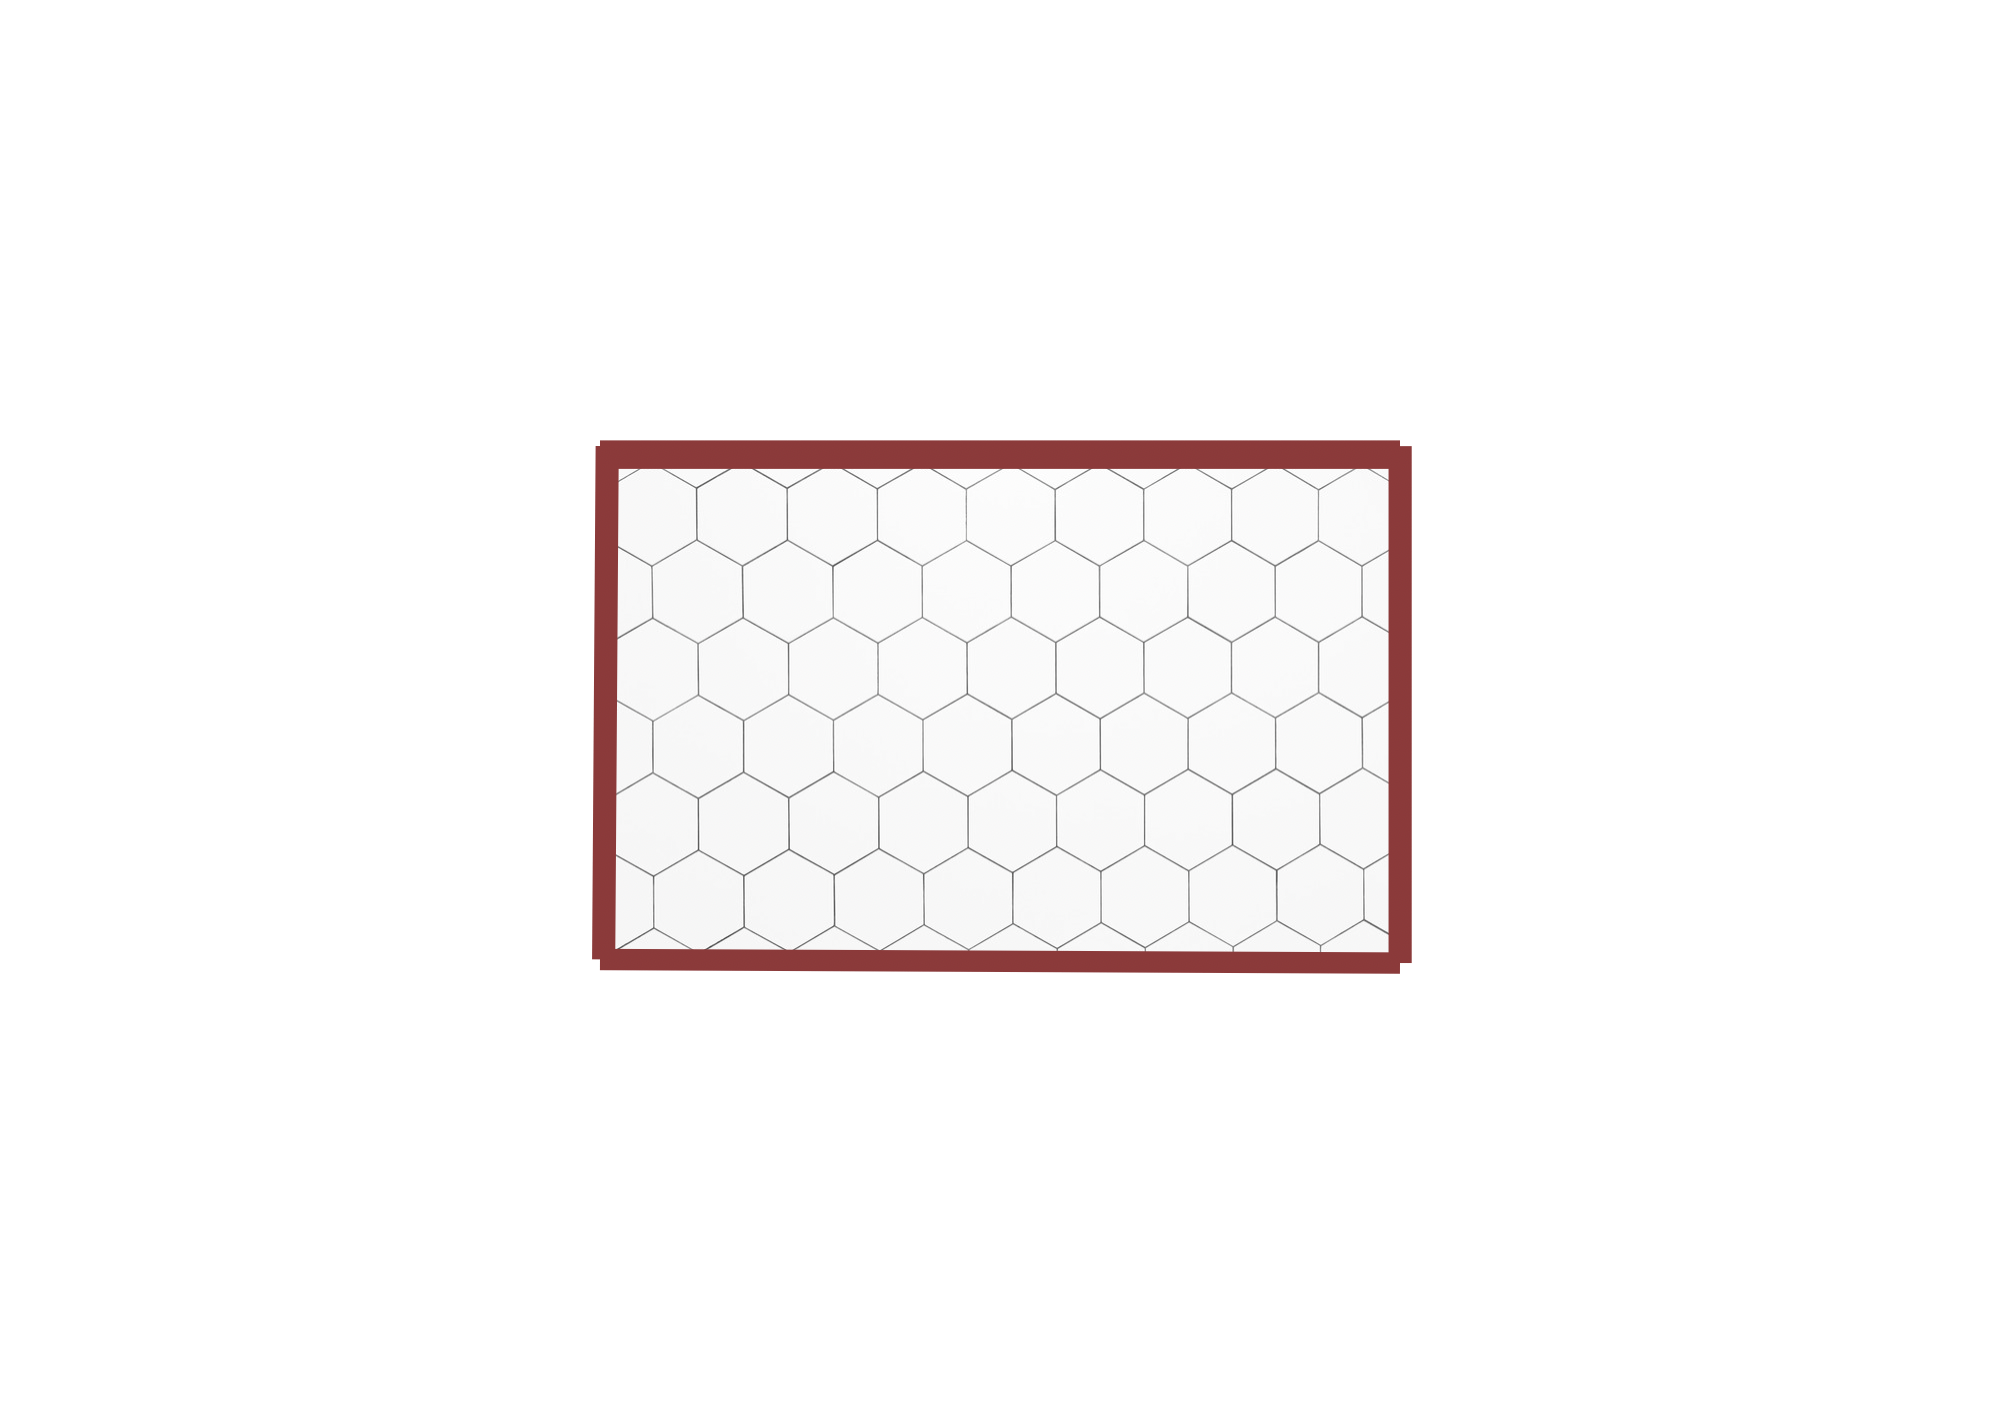
CUSTOM TILE LAYOUTS
CUSTOM TILED NICHE
A recessed niche was built into the shower wall and finished in tile to add storage without interrupting the layout.
The Work Behind a Finished Shower
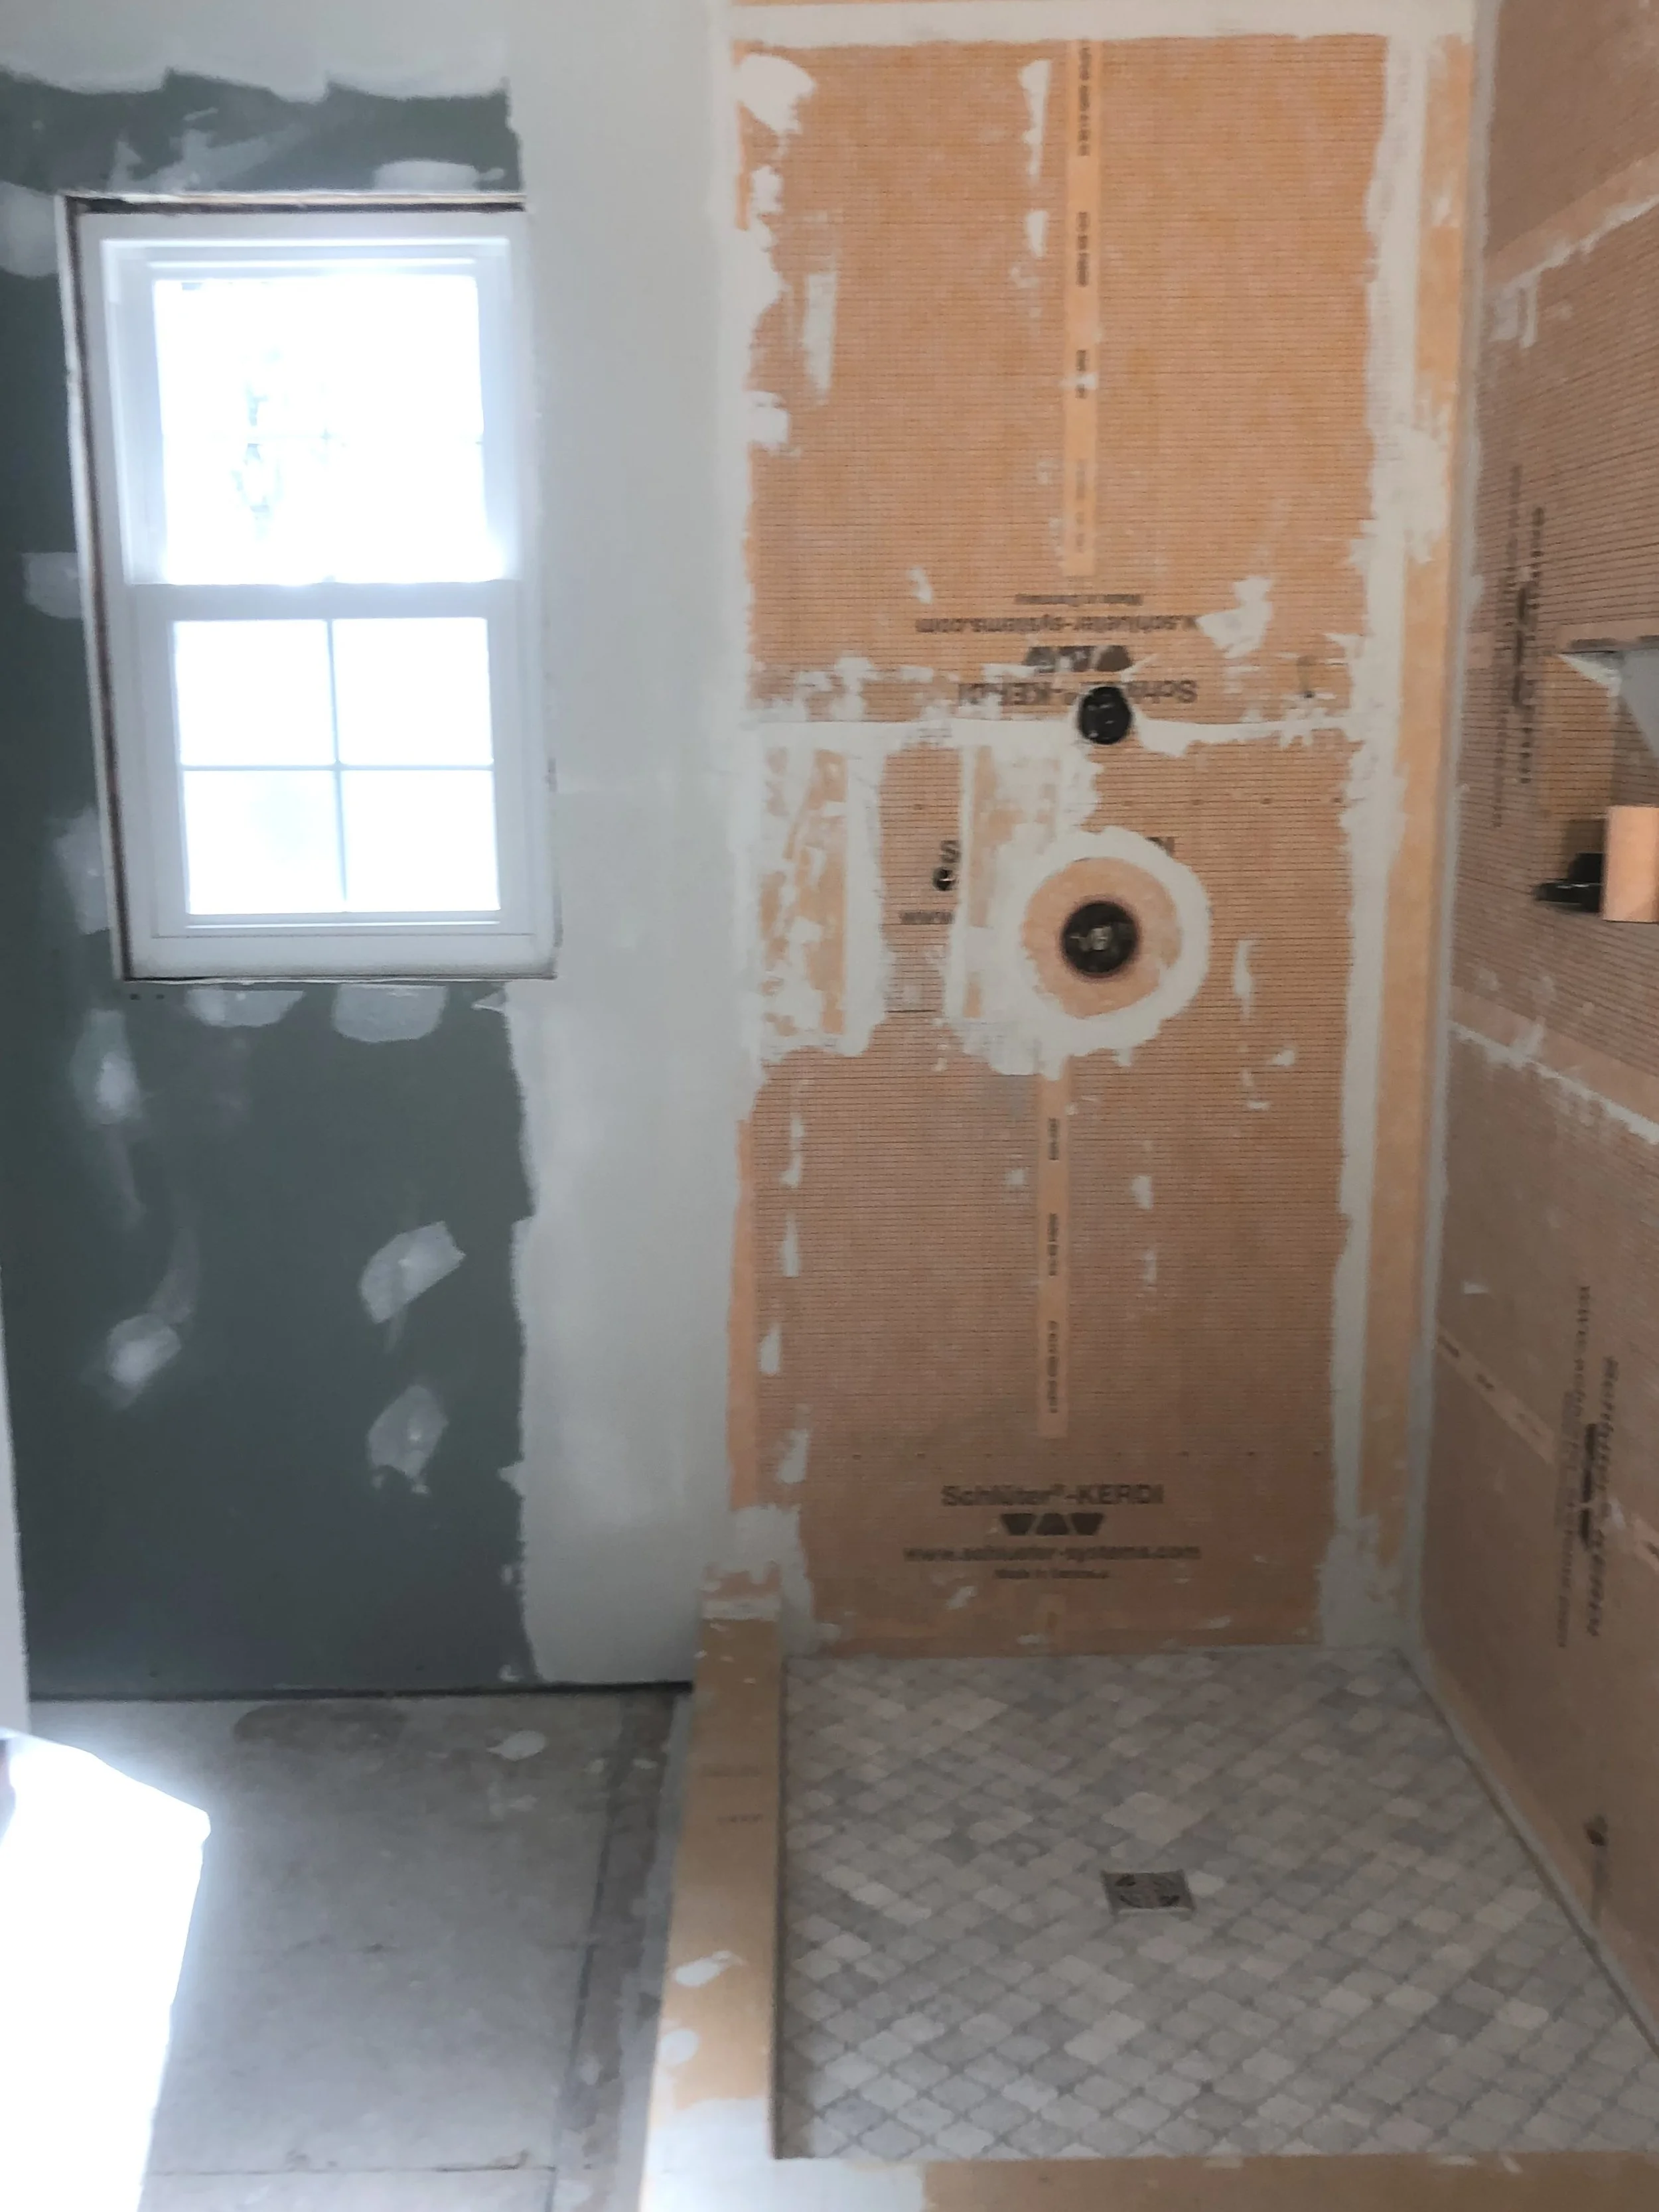
Before the finished tile went in, the relocated shower was rebuilt and waterproofed across the walls, floor, curb, corners, and recessed areas. That preparation created the foundation for the custom tile work that followed.
WATERPROOFING, DONE RIGHT
Moving the Shower Changed the Flow
THE LAYOUT
Relocating the shower to the opposite side of the bathroom cleared the entrance and created a more comfortable path through the room. That shift also made room for the larger walk-in shower and allowed the vanity wall to support a double-sink setup without making the entrance feel congested.
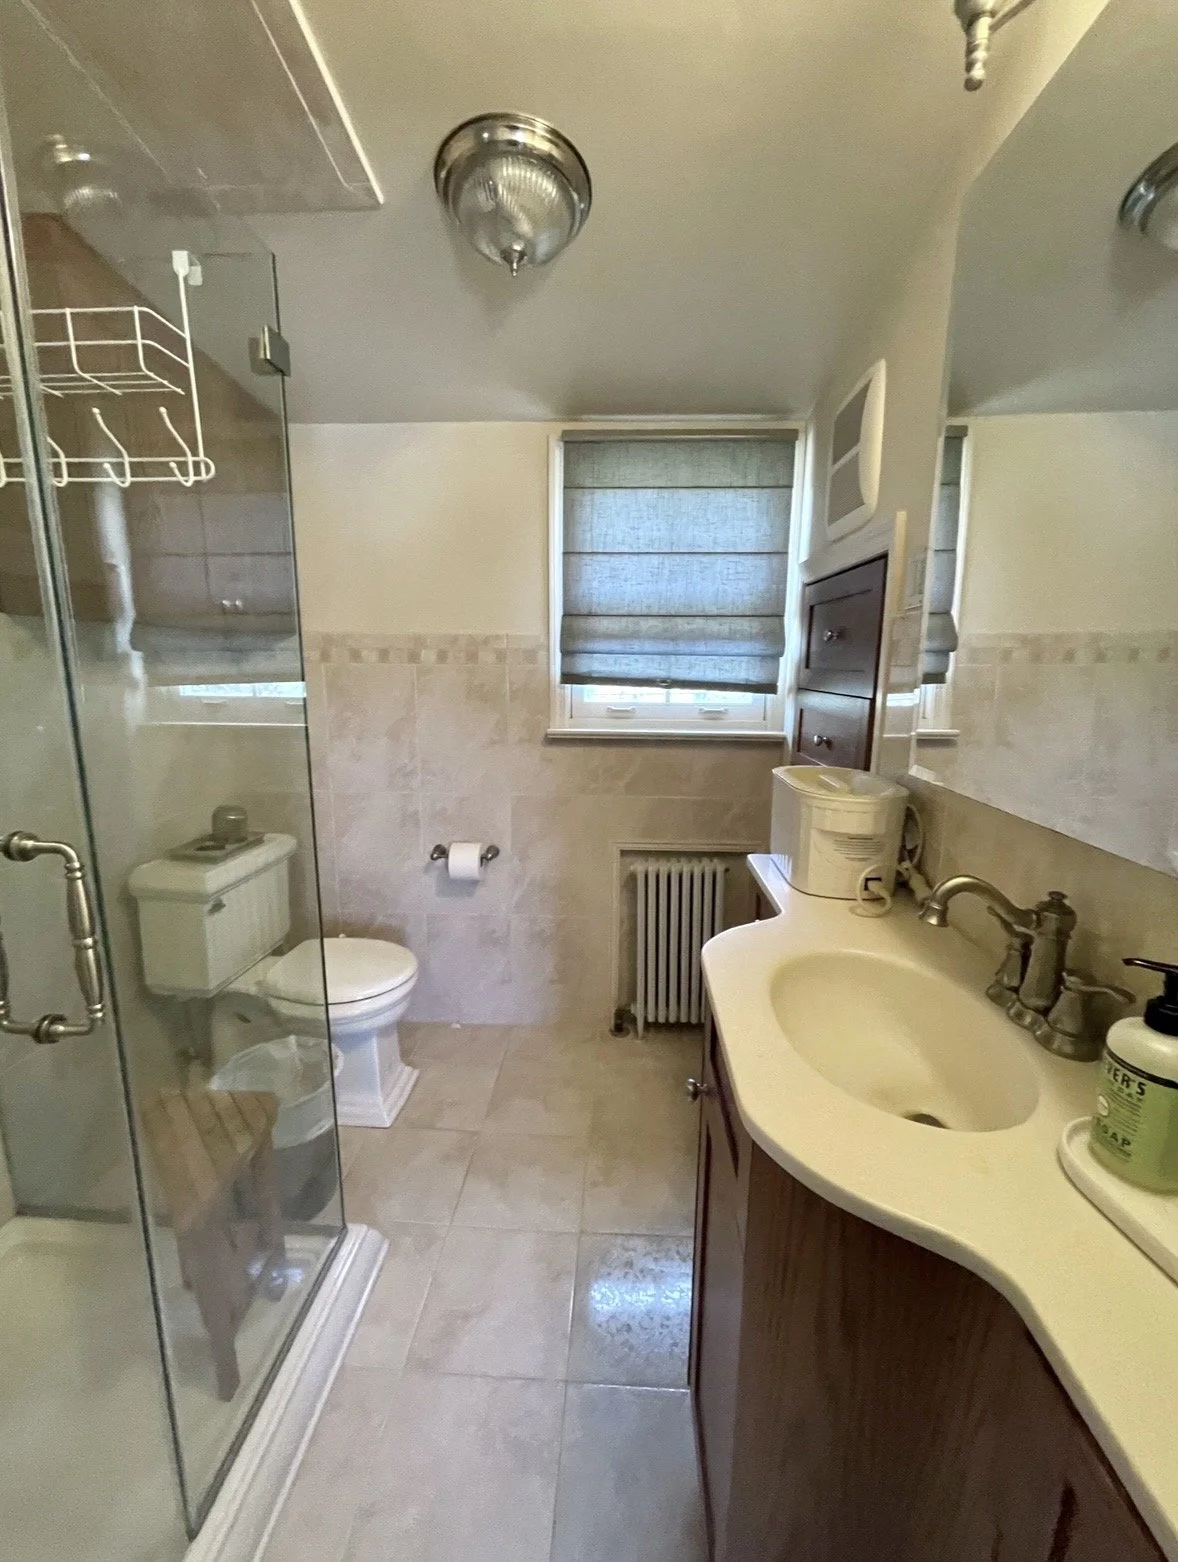
BEFORE THE REWORK
01
The original setup limited usable floor space and left little flexibility for a larger vanity or added storage.
AFTER THE REWORK
02
The finished layout uses the same footprint more efficiently, with added function built into each side of the room.
Double Vanity, Storage, & Updated Lighting
DESIGN & DETAILS
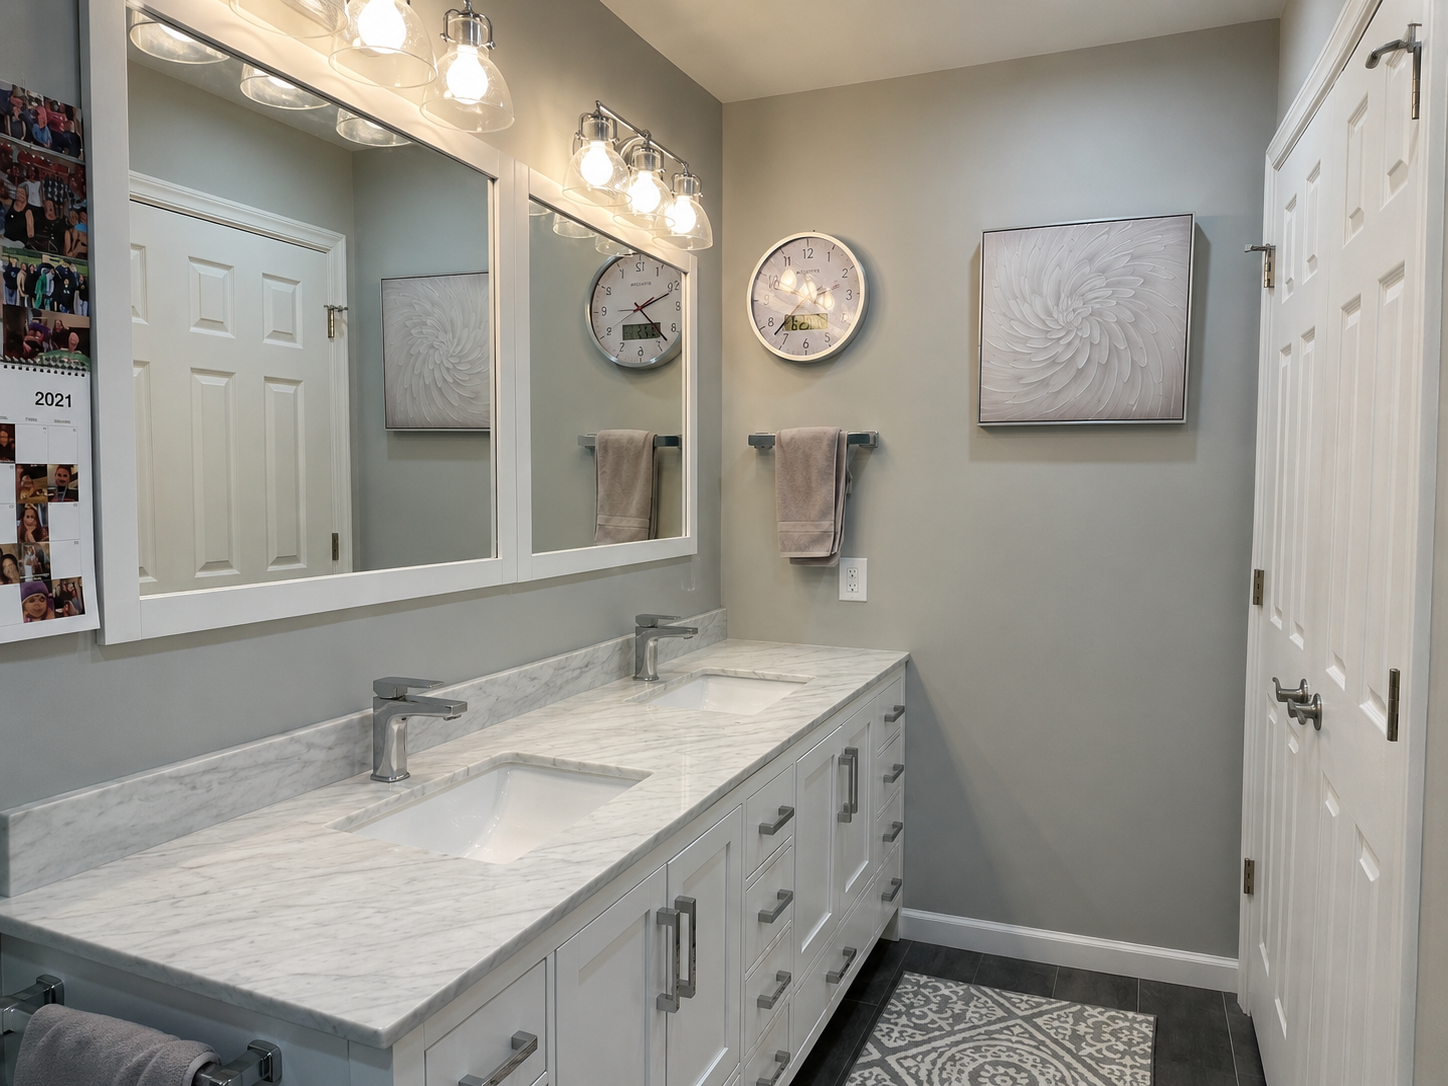
The vanity stayed in its original location, but the wall was upgraded with a much larger setup. Added drawers, cabinet storage, and interior shelving increased usable storage, while the marble-look counters, matte finish faucets, framed mirrors and update lighting finished the space.
MORE STORAGE WITHOUT TAKING UP MORE SPACE
The larger vanity adds drawers, cabinet storage and shelving below, while the two recessed medicine cabinets use wall space for everyday items that would be otherwise end up on the counter.
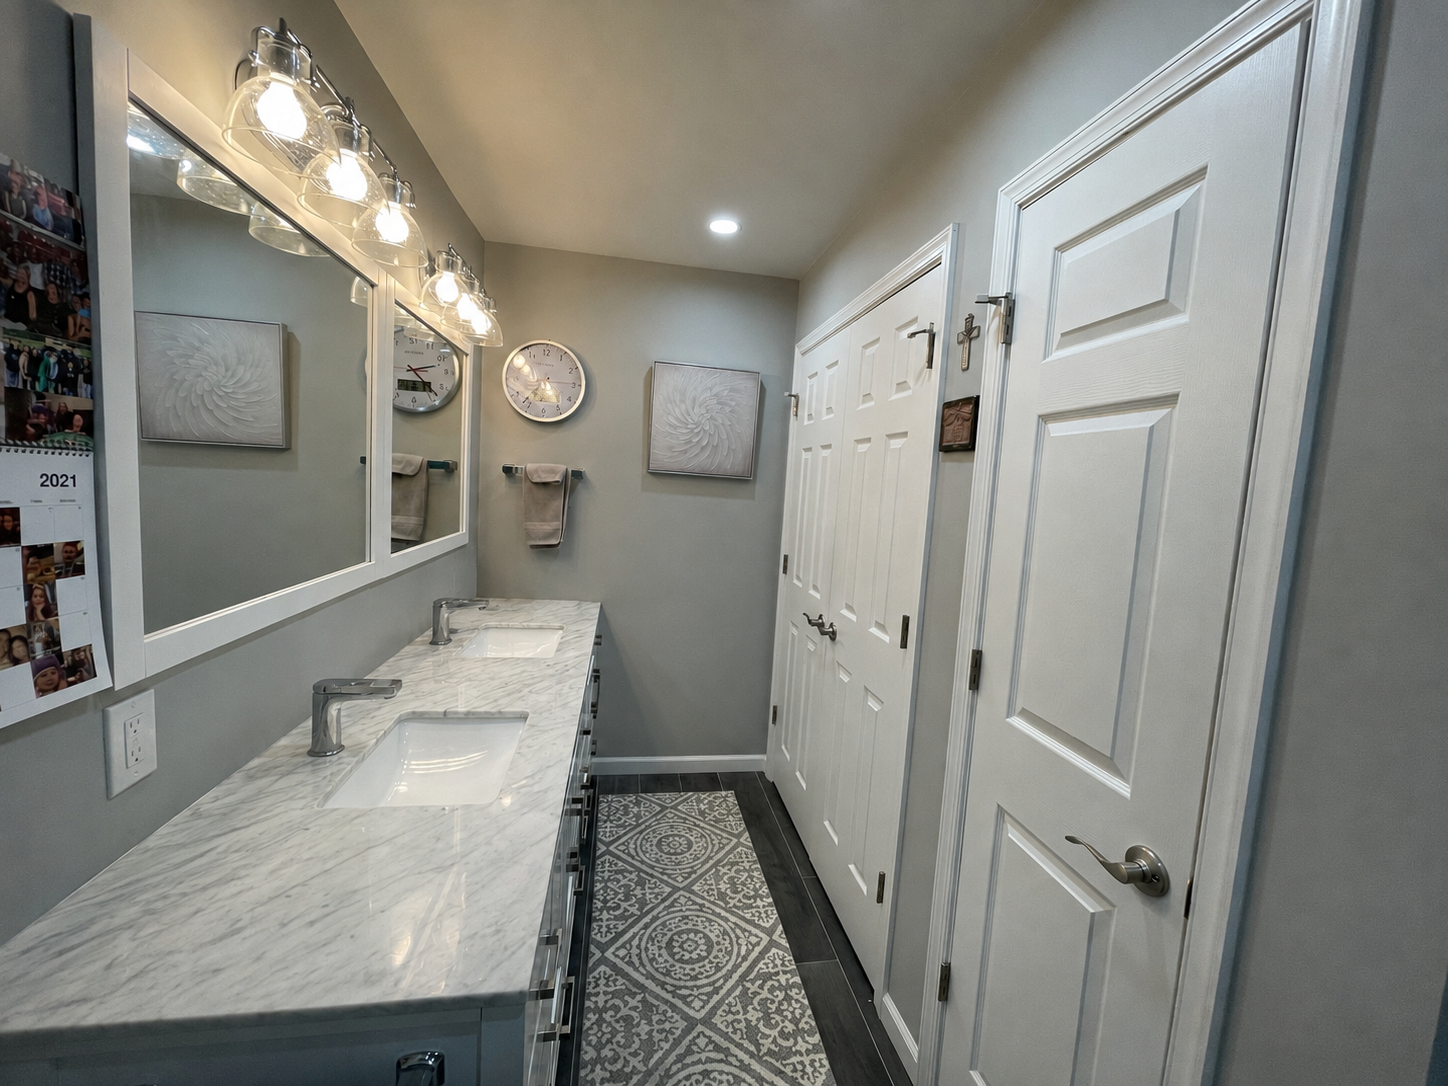
A VANITY BUILT FOR TWO
Two sinks, a longer counter and separate mirrored medicine cabinets give both homeowners their own usable space while keeping the room organized.
DETAILS UP CLOSE
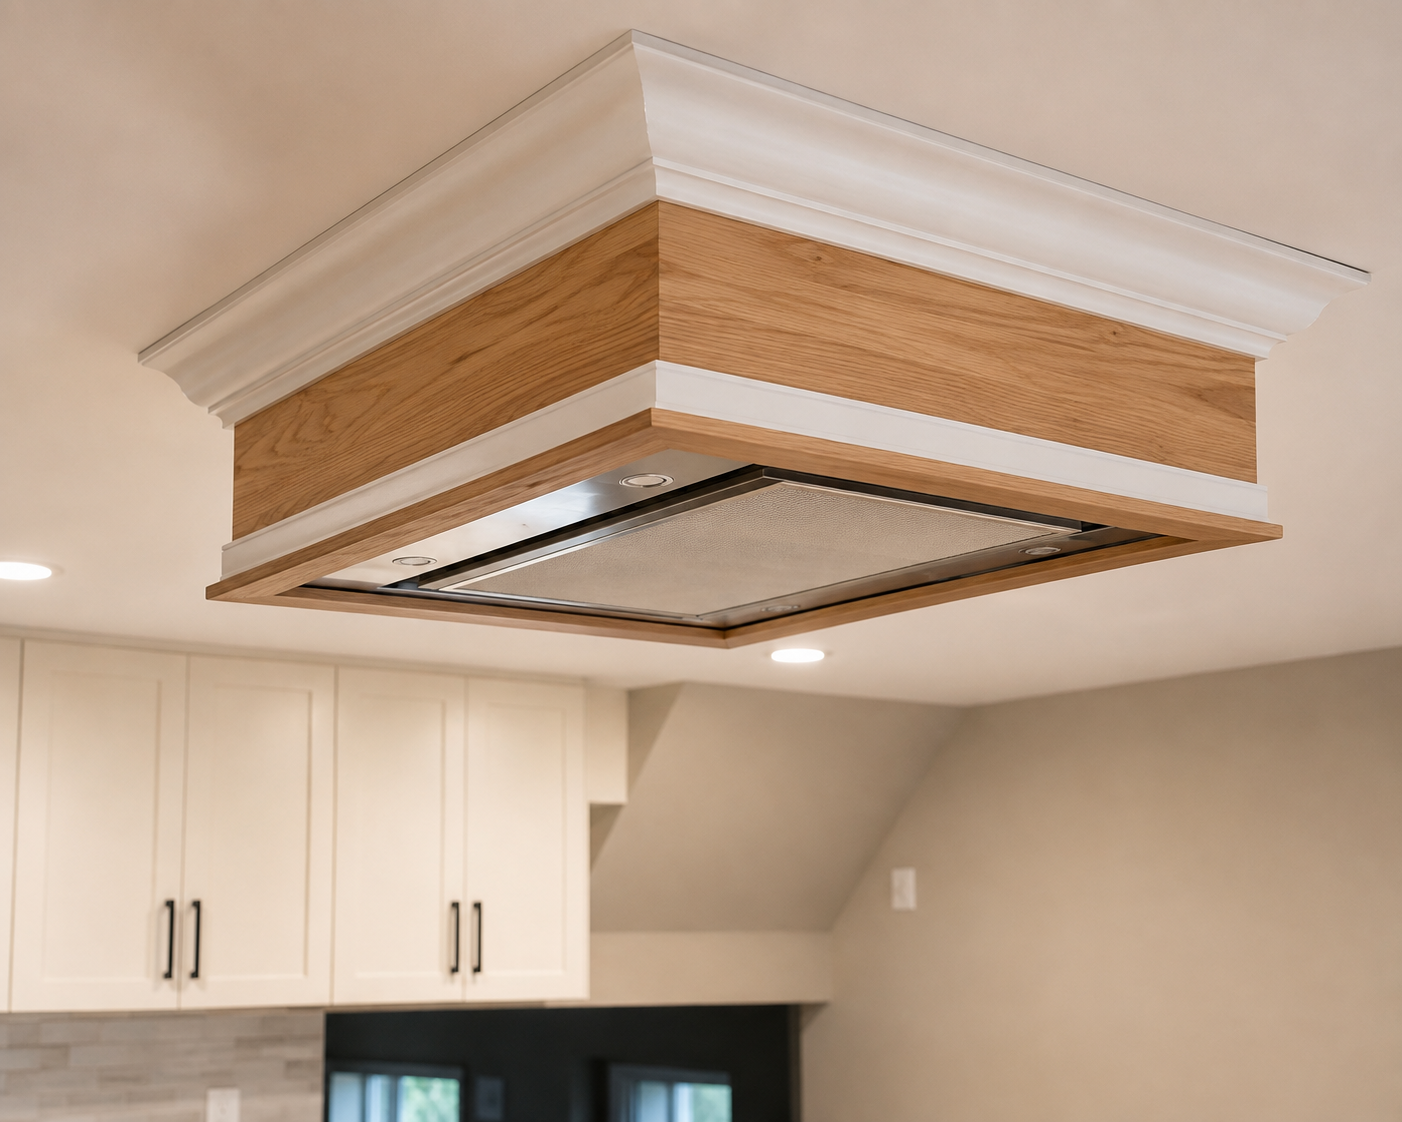
A Custom Hood Worth Noticing
A ceiling mounted range hood was finished with warm wood trim and white molding so it would feel like part of the kitchen’s design—not just a vent hanging over the island. The wood detail also ties back to the exposed beam used to define the newly opened space.
Ready to Rethink Your Kitchen?
Whether you’re opening up a tight layout, adding more workspace, or planning a full remodel, JWD Contractors can help create a kitchen that works better from end to end.